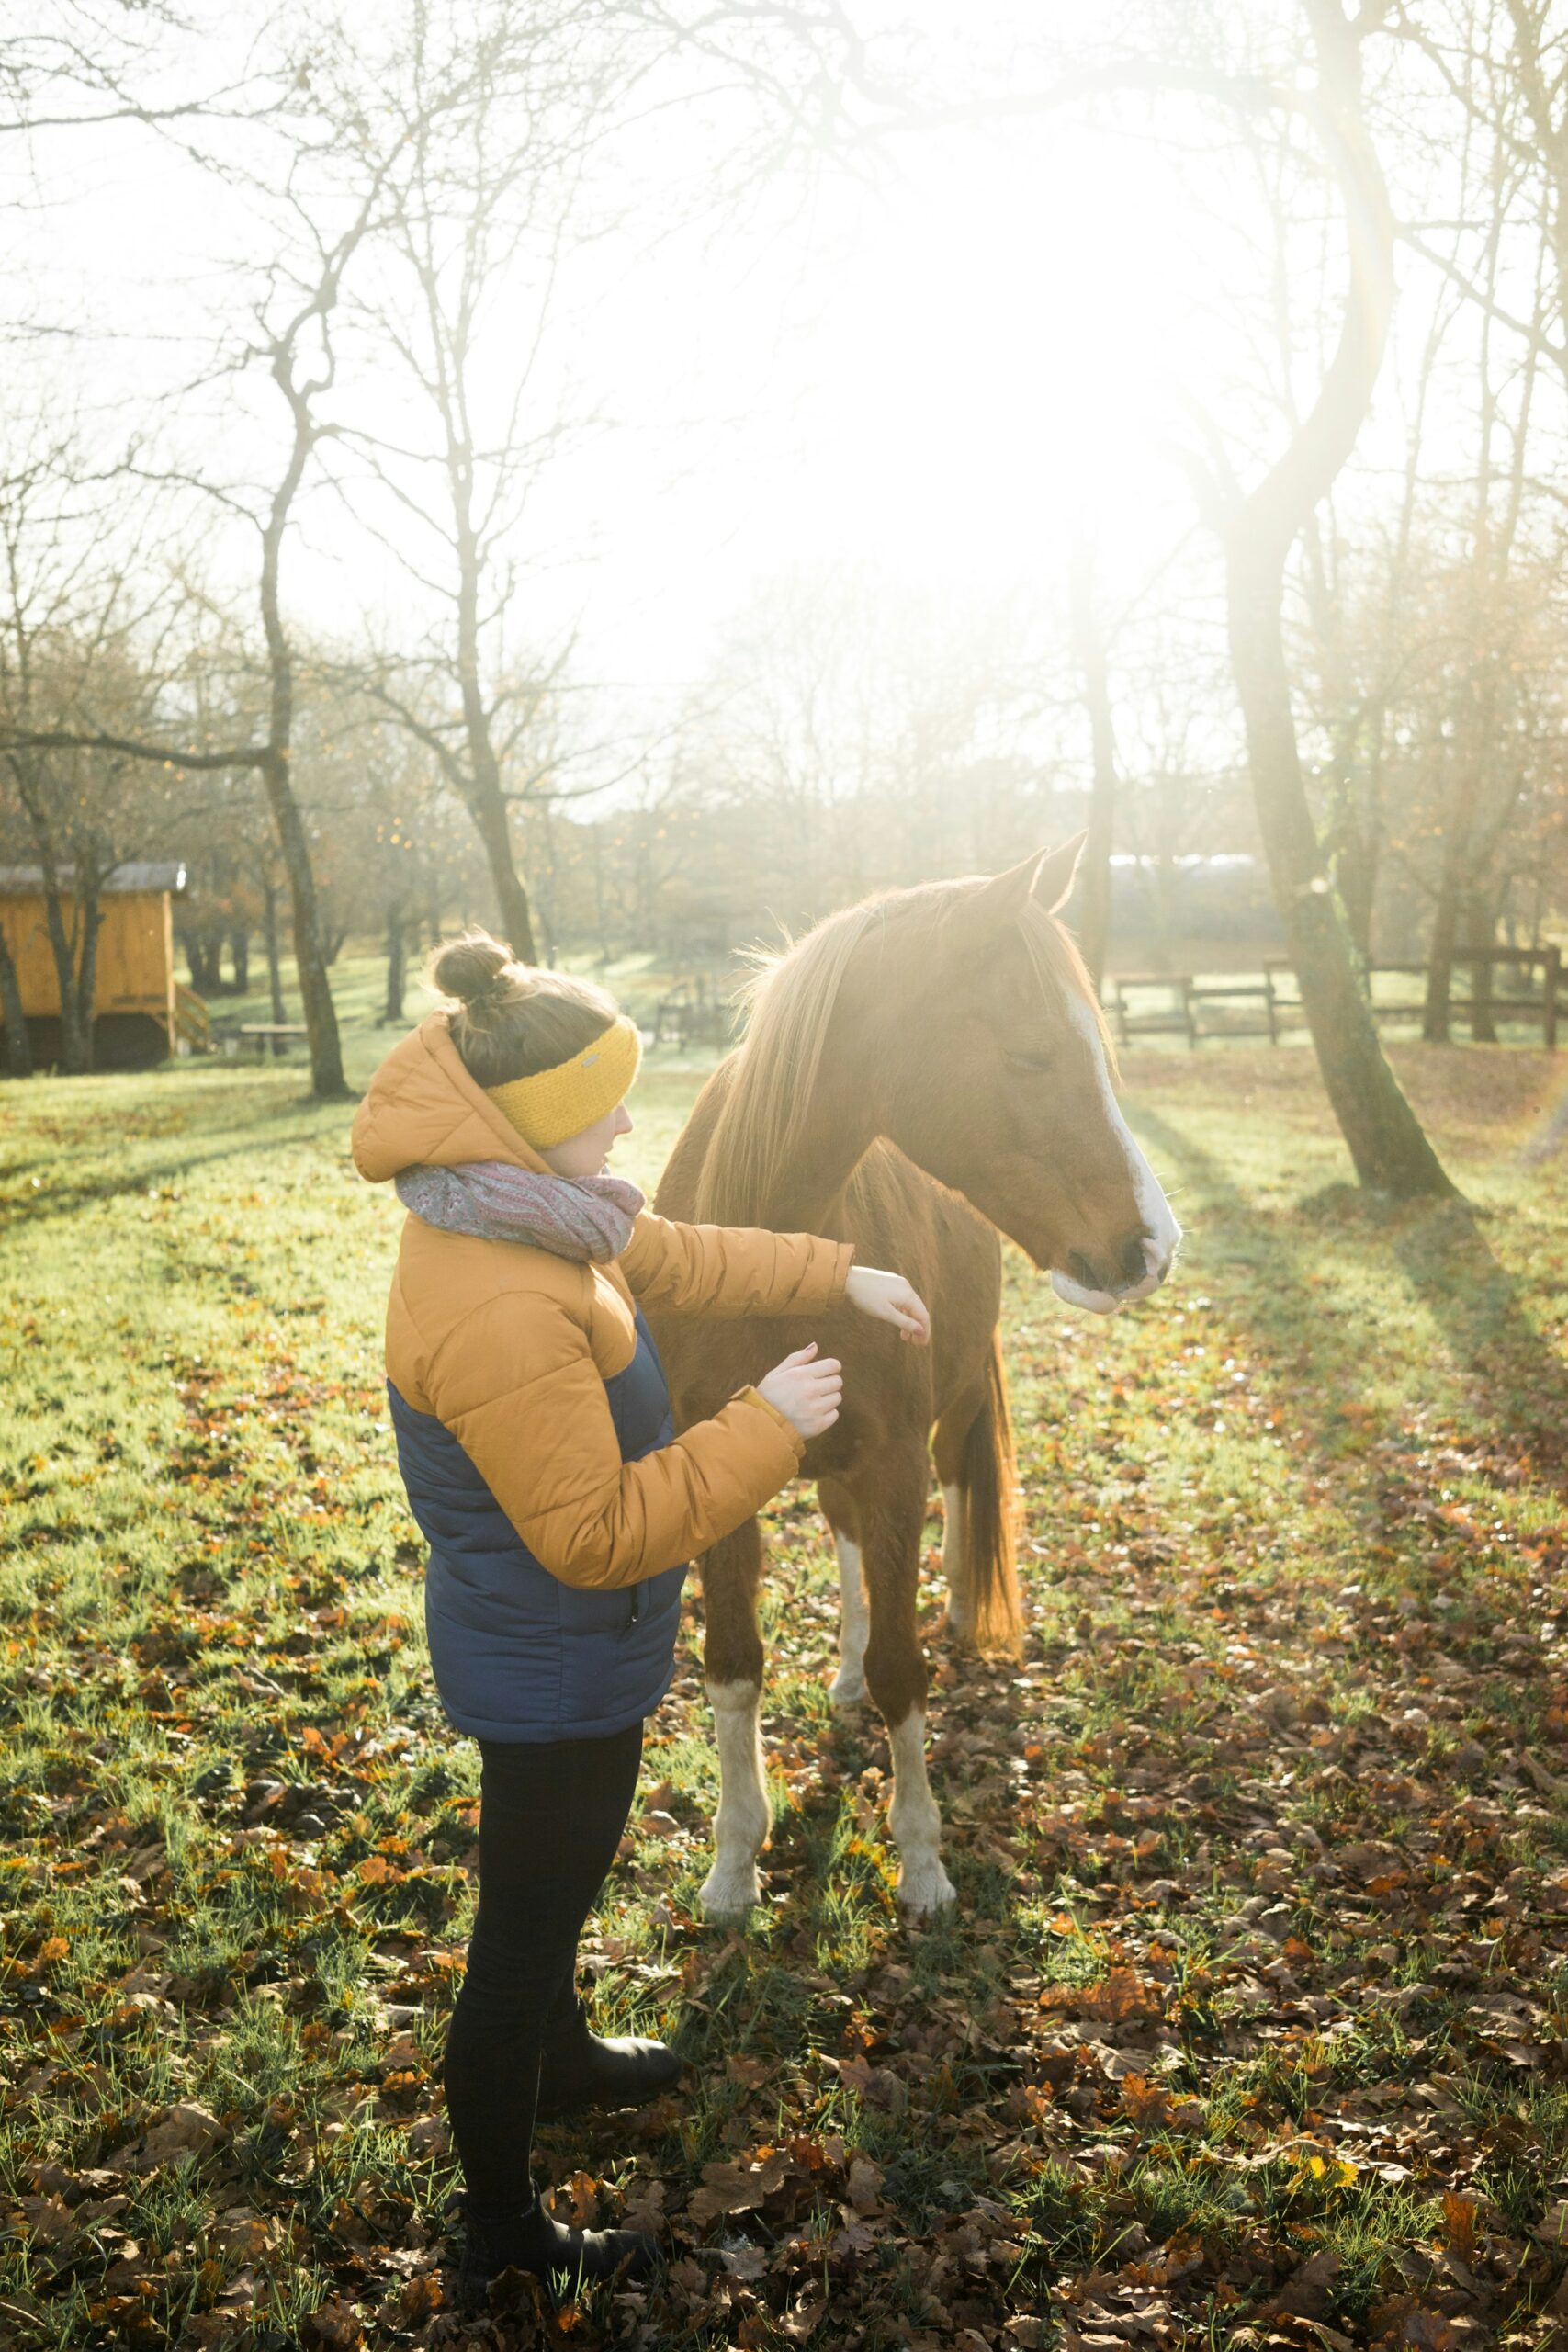
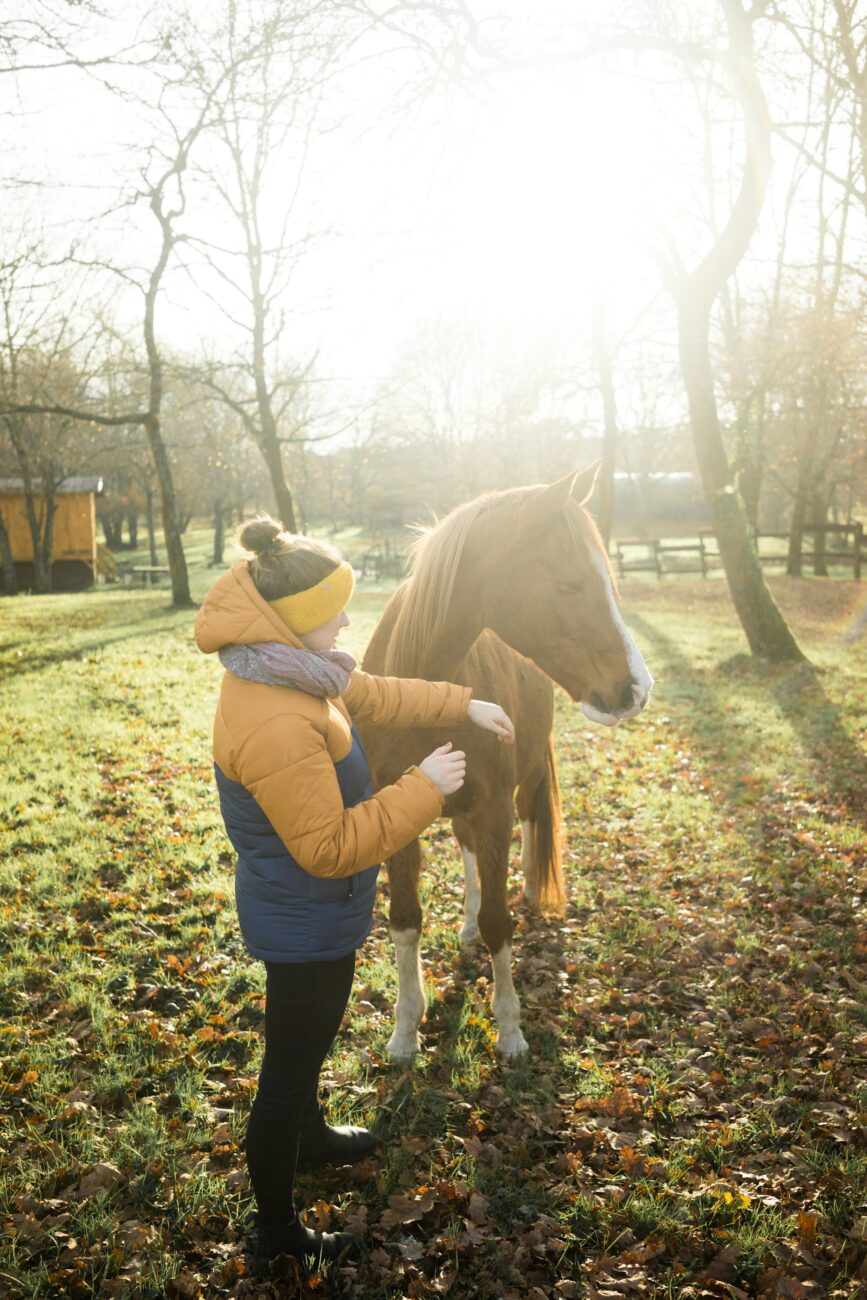
A basic horse grooming kit holds 8 things: a hoof pick, a rubber curry comb, a shedding blade, a stiff dandy brush, a soft body brush, a mane and tail comb, a sponge and a grooming cloth. That’s the list the University of Kentucky’s 4-H horse program teaches, and y’all can fit every piece of it in a bucket you carry to the barn.
The tools are cheap. Turns out the order you use them in is the part folks get wrong, and I’d rather you get the order right with a bargain brush than the other way around.
Brush first and curry second, and you’re just pushing dirt around. Skip the feet, and you miss the one daily job that keeps small hoof problems small. So below is the kit, piece by piece, then the order the United States Pony Clubs teach in their D Manual, and what to do when grooming turns up something that isn’t dirt.
One thing up front. HorseRoots is written by a small team, and we are not vets or farriers. A sore spot, heat in a leg or a horse that won’t put a foot down is a call to your vet. Hooves and shoes are your farrier’s department.
The Eight Tools in a Basic Grooming Kit
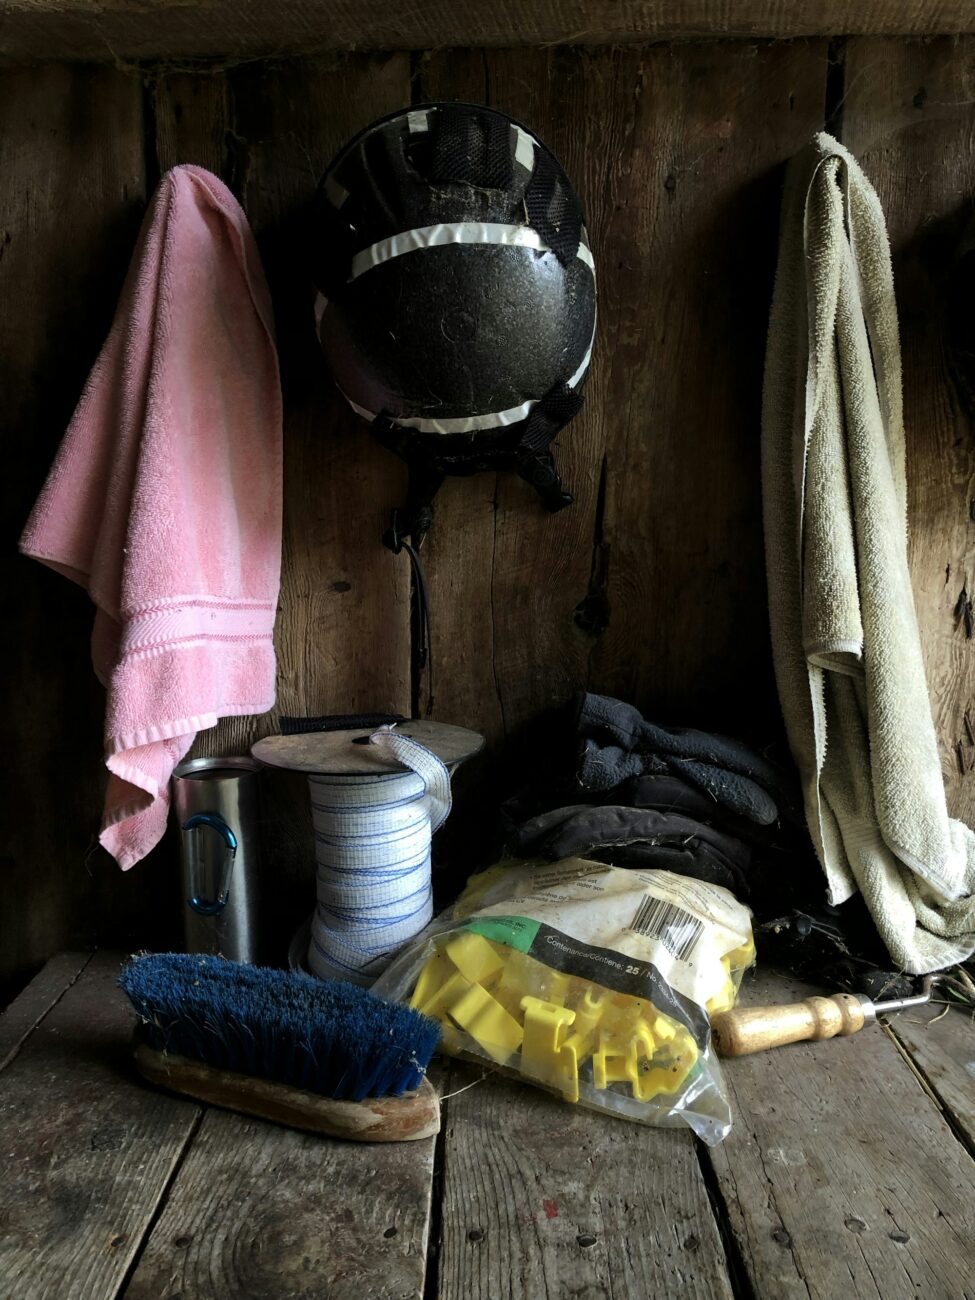
Here’s what each piece is for, in the plain words you’d hear in the aisle of a boarding barn. If I could only keep 2 of them, honestly, I’d keep the hoof pick and the rubber curry. Everything else makes the job nicer; those 2 do the job.
Kentucky’s 4-H program doesn’t hand a kid all 8 at once, either. Beginners learn 5 tools, the intermediate level adds the shedding blade and the cloth for 7, and seniors learn all 8 plus the order they go in. Not a bad way to build your own kit (no need to buy it all on day one).
Two notes on buying. First, the curry comb that touches your horse should be rubber or plastic. The Pony Club’s teaching sheet is blunt about it: metal curry combs are never used on horses. They are for cleaning your other brushes.
Second, the shedding blade is a seasonal tool. The Kentucky manual describes it as the one that helps remove winter hair, with a smooth side that slicks water off after a bath. It does its real work when the winter coat lets go, so don’t feel you need it on day one.
A tote or bucket with a handle keeps the kit together. Brushes left loose on a shelf have a way of wandering off to other horses.
Tie Up First, Then Pick Out the Feet
Before any brush comes out, the horse gets tied. The Pony Club sheet says to use a breakaway halter and a quick-release knot, so a horse that spooks can get loose instead of fighting the post. Some barns use cross-ties, and some have a second person hold the horse. Either way, nobody grooms a horse that can wander off mid-stroke.
Then the feet, all 4 of them, every day. Horse Illustrated’s step-by-step for the left front goes like this (it’s the one I’d hand a beginner):
- Stand beside the front leg, facing the horse’s tail, with the hoof pick in your right hand.
- Slide your left hand down the back of the leg to the tendon below the knee, squeeze just above the fetlock, and lean your shoulder into the horse. Say your cue, like “pick up.”
- Once the foot comes up, hold the hoof itself, not just the pastern.
- Pick from the heel toward the toe, the point aimed away from you.
- Clean the grooves on either side of the frog, the soft V in the middle, but don’t dig into the frog itself. It’s the hoof’s shock absorber.
- Brush off what’s left and set the foot down gently. Don’t drop it.
Two safety rules from the same guide. Never sit or kneel while you pick feet, because a fly or a loud noise can set off a kick. And on the hind feet, stand close to the horse. A kick from right beside the leg pushes you. A kick from a few feet back lands with the whole swing behind it.
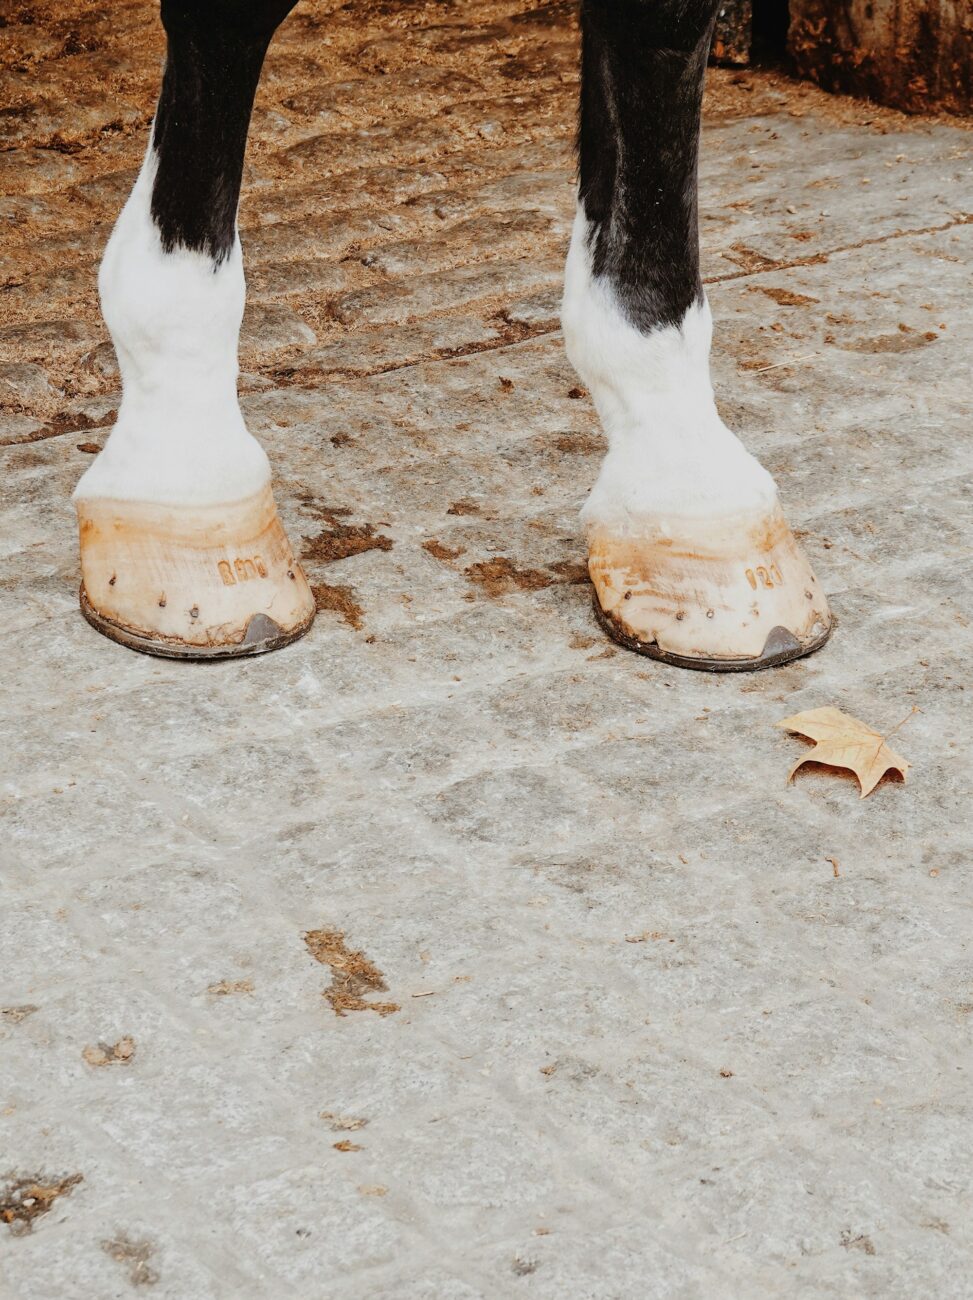
While the foot is up, look for stones and bruises on the sole. If the horse wears shoes, wiggle the shoe with 2 fingers, then look at the clinches. Those are the bent-over nail ends on the wall, the little row of dots just above each shoe in the photo above, and the Pony Club sheet asks you to check that they’re smooth. A loose shoe is a farrier call, and so is a raised clinch. Our guide on why shoeing matters covers what the farrier is checking on those visits.
How often is that? The University of Missouri Extension says a healthy foot grows about 3/8 inch a month, and the University of Minnesota Extension says a hoof takes 9 to 12 months to grow out completely. Minnesota’s rule of thumb is a trim or reset at least every 6 to 8 weeks in summer and every 6 to 12 weeks in winter, when hooves grow slower. Missouri’s guide runs tighter: about every 4 weeks for horses kept in stalls or paddocks, and about 6 weeks for horses worked hard or out on pasture. Your farrier sets the real schedule for your horse.
One more reason the daily pick matters (and it’s not just about shoes): the same Missouri guide says horses kept in a stall or small pen should have their feet picked daily to reduce the risk of thrush.
The Rubber Curry Comb Loosens the Mud
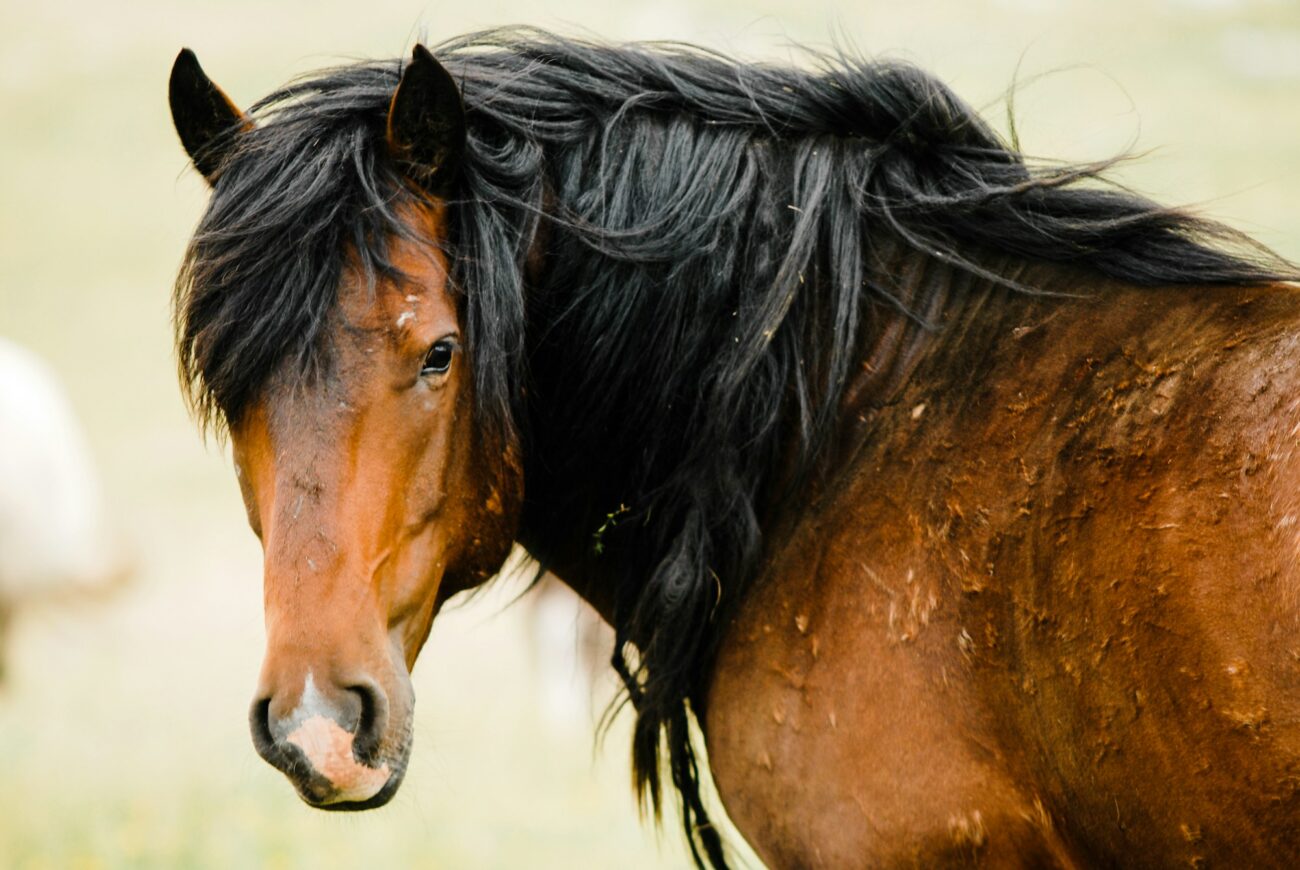
A horse coming in from the pasture often wears half of it. The curry comb is the tool that breaks that up.
Rub in small circles, firm enough to lift dirt and loose hair up to the surface. Start at the top of the neck and work back and down, the way the Pony Club order teaches. Keep the curry off the head and the lower legs; the soft brush handles those.
The Kentucky manual says the curry does more than clean: it stimulates circulation and oil production in the skin. And the last reason on the Pony Club’s list for grooming at all is that it feels good to the horse. Still, some horses are touchy in certain places, and our piece on where horses don’t like to be touched is worth a read before you go scrubbing there. Lighten up rather than fight about it. You won’t win that one anyway.
Pay real attention to the saddle and girth areas. One reason to groom at all, per the Pony Club’s own list, is to keep dirt from rubbing sores under the tack.
The Dandy Brush Flicks It Away
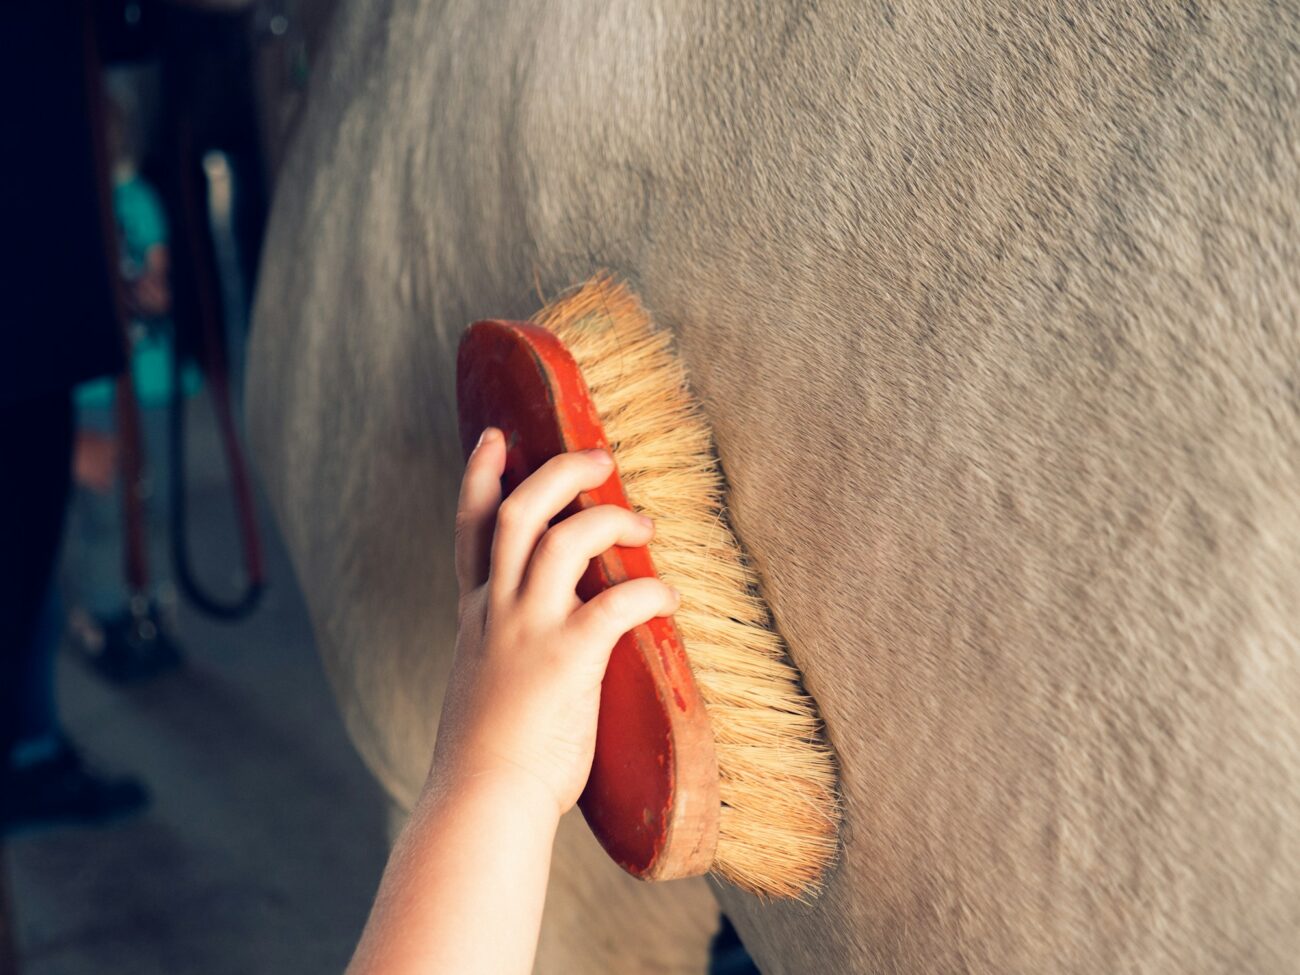
Now you’ve got a coat full of loosened dirt sitting on the surface. The dandy brush (also called the hard brush or stiff brush) sends it on its way.
Start at the top of the neck again. Use short, snappy strokes with a flick of the wrist at the end, so the dirt leaves the horse instead of settling back in. Go with the direction of the hair.
The Pony Club sheet says to skip the dandy brush where a horse has been clipped. Short clipped hair leaves those stiff bristles scratching skin, and that’s where the soft brush takes over.
The Body Brush Brings Up the Shine
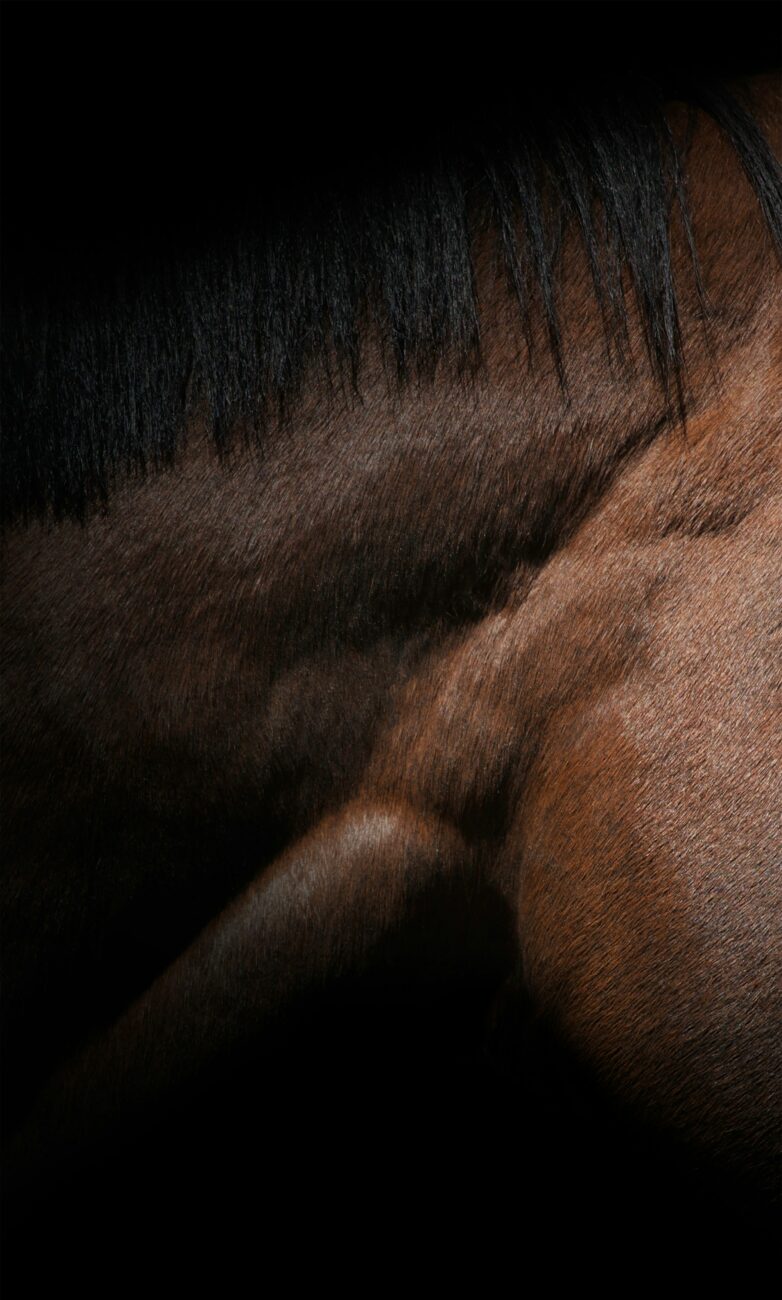
The soft body brush takes away the fine dust the stiff brush left behind. It’s the one the Pony Club calls the best brush for getting a coat clean and shiny, and the University of Kentucky’s 4-H manual calls it the only brush suitable for the whole body, face included.
Short, firm strokes in the direction of the hair, and clean the brush after every few strokes. That’s the metal curry comb’s whole job: drag the body brush across it, then knock the dust out of the curry.
Then the grooming cloth, or stable rubber. Bear down and rub in long strokes the way the hair lies. It warms the skin and brings the oils up, so the coat comes out sleek. This is the step people skip when they’re in a hurry, and I’ll be honest, it’s the one I’d skip last. It’s what makes a horse look like somebody loves him.
Mane and Tail: Fingers Before the Comb
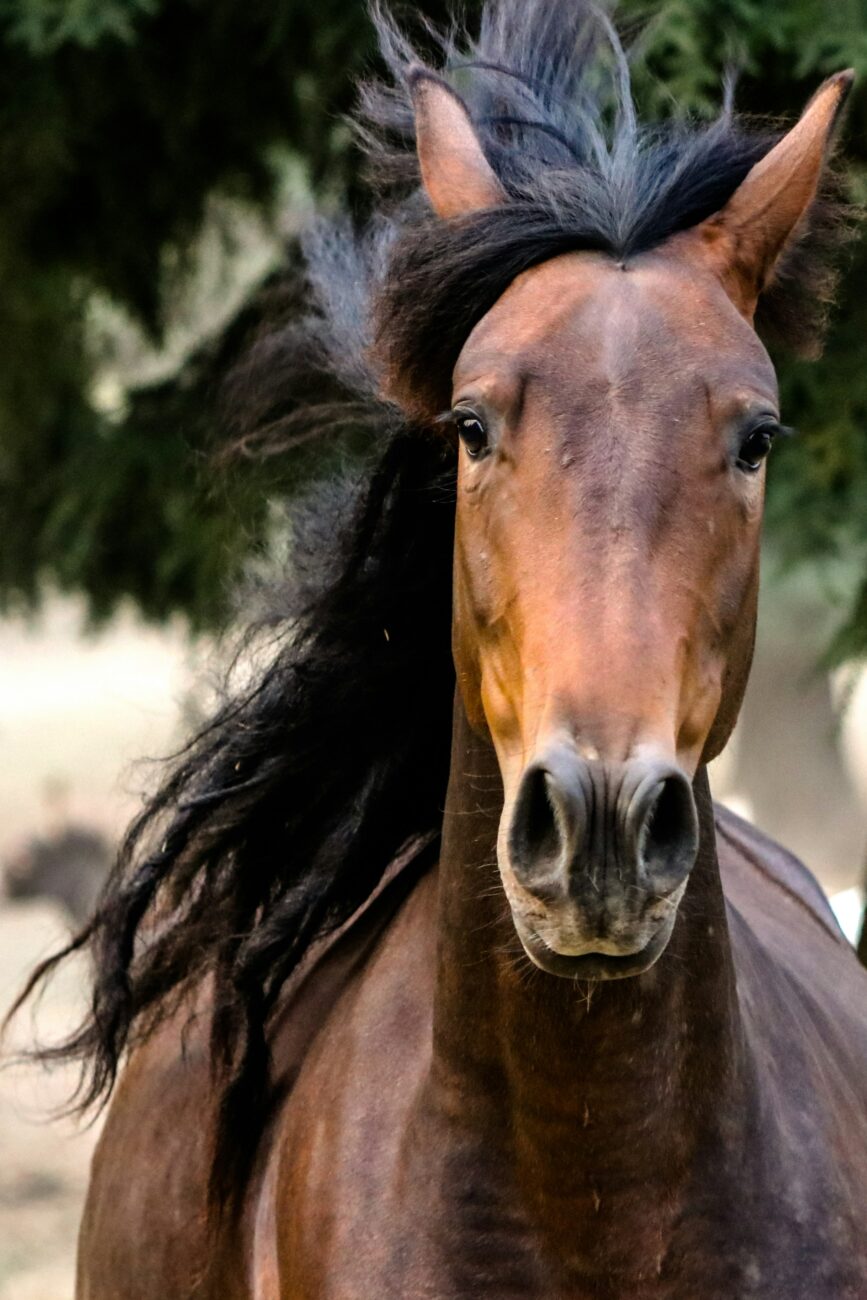
A mane or tail is not a hairbrush job. Pull the comb straight down through a knotted tail and you’ll snap hairs that took a long time to grow.
Pull out the twigs and burrs first. Then separate tangles by hand, a small section at a time. When you do comb, start at the bottom of the hair and work up, so each stroke only meets the knots below it. A plastic comb or a mane brush works fine. A long tail that keeps knotting can be braided; EQUUS’s winter guide splits it into 3 sections.
Stand off to one side when you work on the tail, never straight behind. Same reason as the hind feet.
Face, Eyes and the Dock: A Soft Brush and Two Sponges
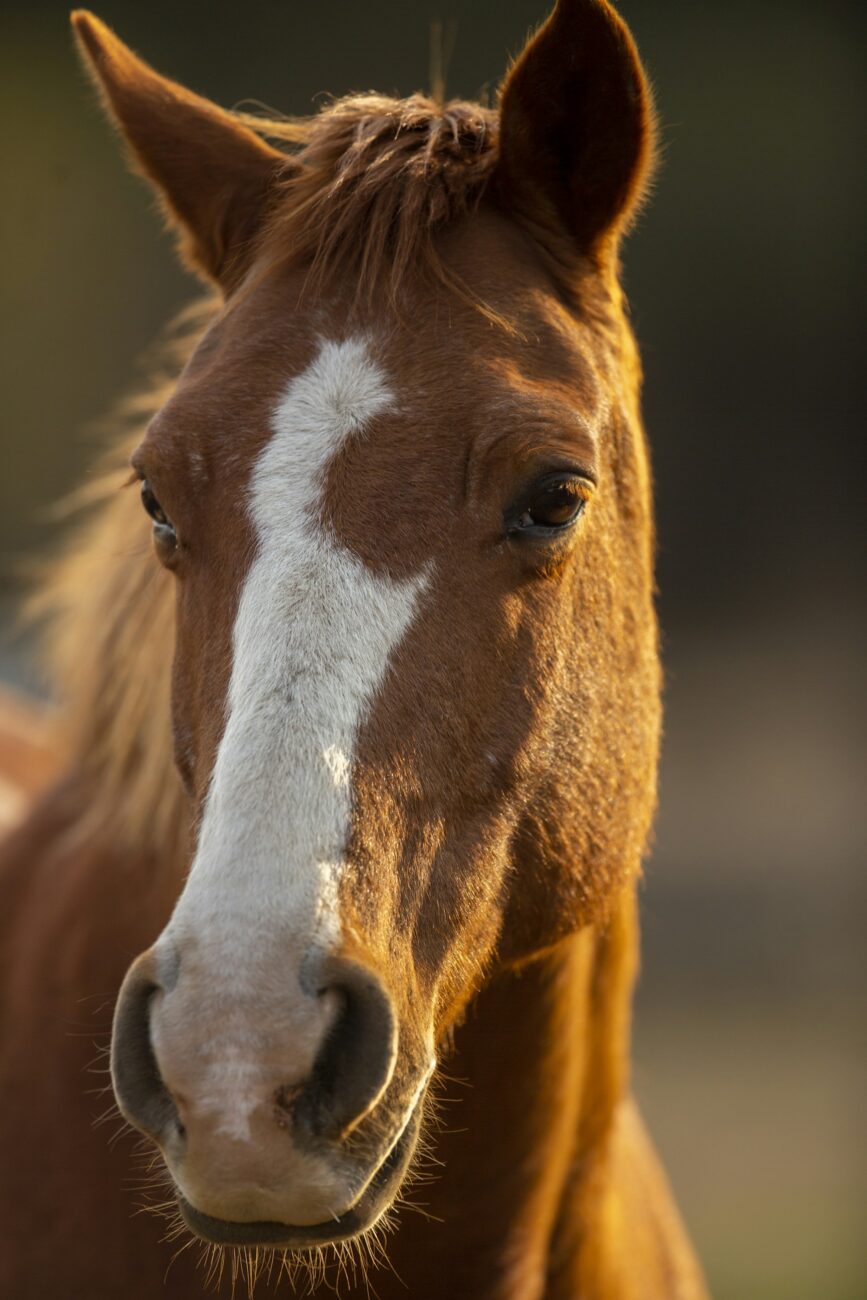
The head gets the softest tools in the kit. A small face brush, or the body brush, for the cheeks and forehead. Work slowly around the eyes and ears, and let the horse see the brush coming.
Then a damp sponge for the eyelids and nostrils, and around the lips. A second, separate sponge cleans under the tail and the sheath or udder area. That’s 2 sponges, 2 colors if you can, and they never trade jobs. The Pony Club order lists these as checks for every groom and as cleaning when there’s dirt or discharge to wipe away.
Last on the Pony Club list: fly spray, in the seasons you need it. The Kentucky manual adds that the grooming cloth can wipe the nostrils and ears too, which is kinda handy when you’d rather not juggle sponges.
Grooming a Winter Coat
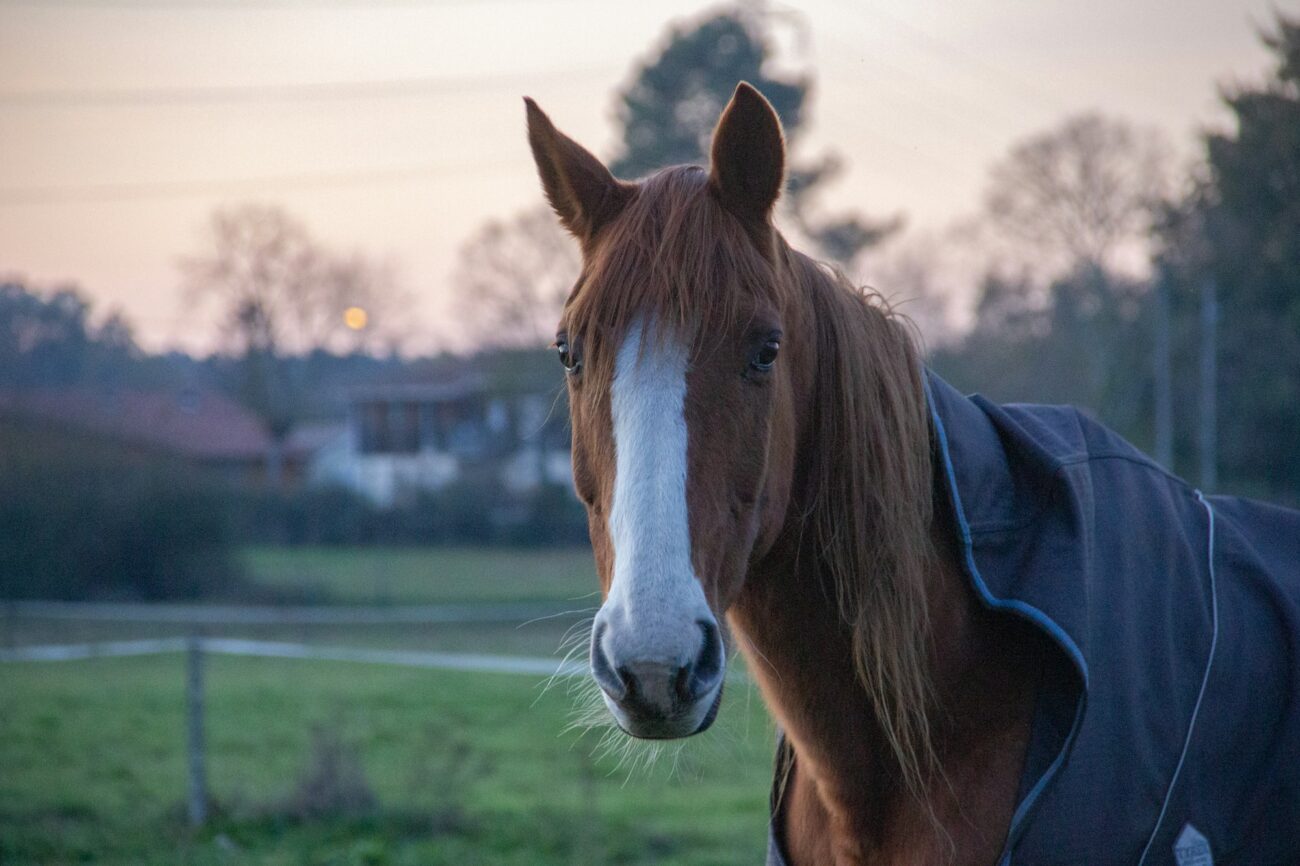
Late fall changes the job. The coat gets long and thick, and a short-toothed curry just skates over the top. EQUUS magazine’s winter grooming guide suggests a curry with long “fingers” that can reach through to the skin.
Blankets save brushing time, but they hide things. The same guide says a blanket can hide weight loss, and to take it off for a quick look at least once a day all winter. Run your hands over the shoulders and ribs while it’s off. If you’re still deciding whether yours needs one, our guide on blankets in the rain walks through it.
A horse that sweats under saddle on a cold day can’t just be left wet. EQUUS warns he could easily catch a chill, and its answer is to dry him while keeping him warm (a cooler, for instance). When it’s too cold for a full bath, hot toweling gets him clean instead. The bottom of the tail, below the tailbone, can still be washed in cold weather.
Short on time? EQUUS’s advice for the day you’ve only got 20 minutes before a ride is to stick to the essentials, and I’d put the feet and the saddle area at the top of that list. Your tools need a little winter care too: EQUUS suggests washing the kit midway through the season and letting it air-dry overnight.
The Whole Order, Start to Finish
The Pony Club’s D Manual order (pages 184 to 186 of its 2nd edition) runs 13 steps, from tying up to fly spray, and some of those are checks you only act on when there’s something there. Here it is boiled down to the 9 you’ll actually do on a weekday.
When do you groom? The same sheet answers that one too. Check the horse every day. Groom before you saddle, and again after you ride to get the sweat off. A quick daily once-over beats a big Saturday scrub, every time. And if you’re new, give it time: Kentucky’s 4-H lesson plan sets aside 45 to 60 minutes in the barn for its grooming and clipping activity. You’ll get faster (everybody does).
What Grooming Tells You, and Who to Call
Here’s the part nobody puts on the box the brushes came in. The first reason the Pony Club gives for grooming isn’t a shiny coat. It’s to check the horse for injuries or problems. Your hands cover every inch of him once a day, and that makes you the first one to find a cut, a lump, a hot leg or a sore back.
What you do with that is simple. You don’t diagnose it. You decide who sees it.
Horse Illustrated lists black, oozy stuff or a foul smell in the hoof as something to look for every time you pick feet. Don’t treat it from a website. Show your farrier or your vet, and let them tell you what it is.
And if the horse flinches hard at a spot he never minded before, that’s worth mentioning too. A change is information, even when you can’t see anything.
The Short Version
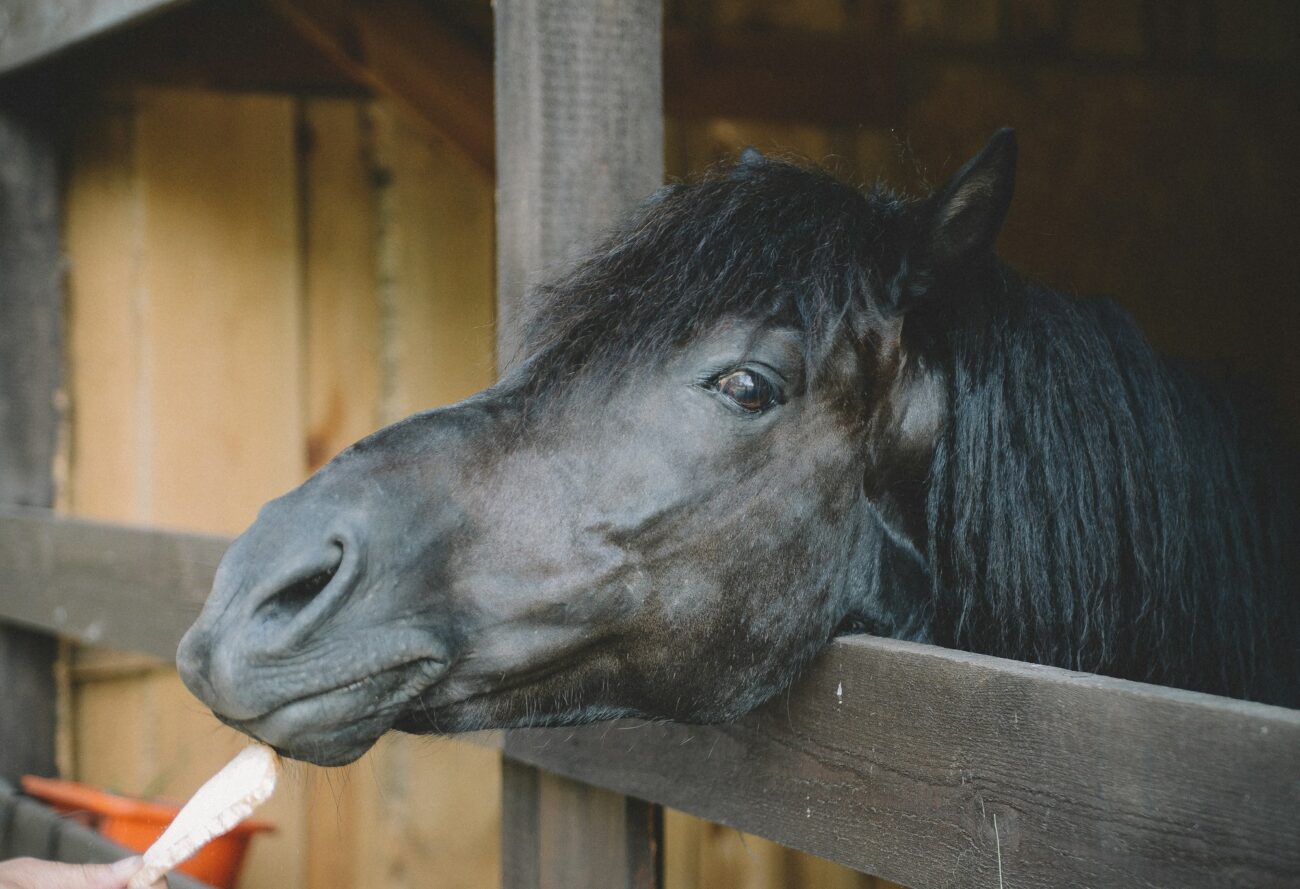
8 tools, 1 bucket. Tie up, pick the feet heel to toe, curry in circles, flick with the dandy brush, shine with the body brush and the cloth, untangle the mane and tail from the bottom up, then the soft stuff for the face and two separate sponges.
Do it every day, keep your eyes open while you do, and call your vet or farrier for anything that isn’t dirt. Happy trails, y’all.
A Must-Read:
Are Himalayan Salt Blocks Good for Horses?

Do Horses Lay Eggs? A Guide for the Confused and Amused

How do Horses Survive in the Wild?

Do Horses Need Blankets in the Rain?
A Close Look at Why Wild Horses Ain't Got No Need for Shoes
Do Horses Have Memories?